
Today’s post kicks off a multi-part series where I will create a mass moment of inertia calculator in Excel. The calculations themselves are simple. However, this demonstration will illustrate how to use a few advanced Excel features to create a custom engineering “app” within Excel. If you could use a spreadsheet like this, then you can follow along and build it yourself.
Sound good? Let’s get started.

Moment of Inertia Calculator
There are a few goals for this calculator:
- Allow a user to select the basic shape for which they wish to calculate moment of inertia.
- Allow a user to input the dimensions of the object
- Accurately calculate the mass moment of inertia for the chosen shape.

Elevate Your Engineering With Excel
Advance in Excel with engineering-focused training that equips you with the skills to streamline projects and accelerate your career.
In today’s post, I’ll demonstrate how to accomplish goal 1.
Form Controls
Form controls are a great way to add an easy-to-understand user interface to your spreadsheets.
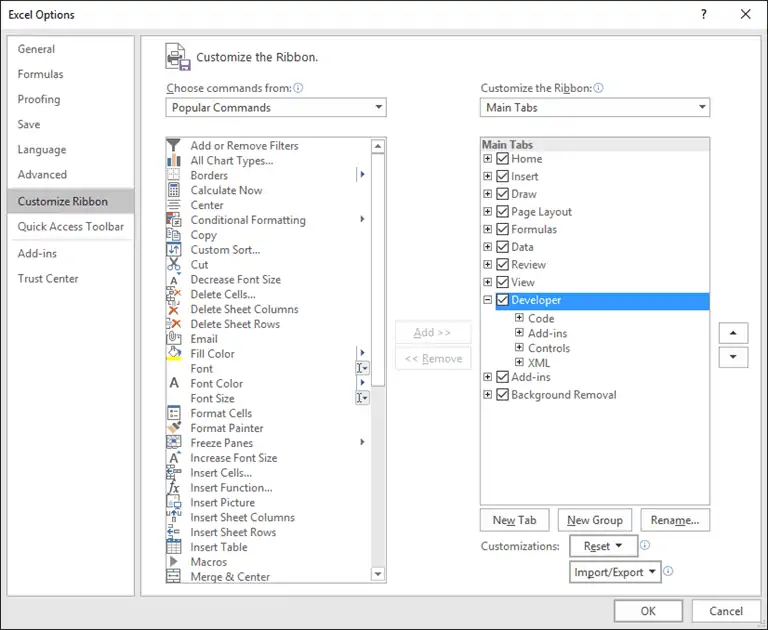
You can find these controls under the Developer tab. If you don’t see a Developer tab in Excel, you will have to enable it (it’s disabled by default).
To enable the Developer tab, click File>Options>Customize Ribbon. Then select Developer from the list of “Main Tabs” and click OK.
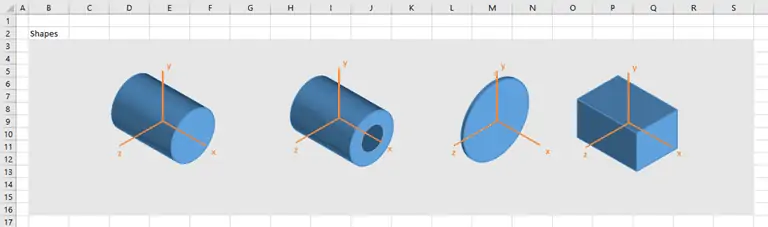
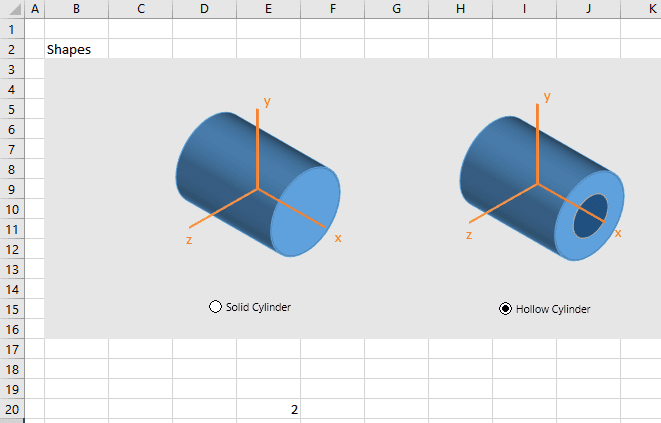
I started with some simple drawings of the four shapes for which I want to calculate mass moment of inertia: solid cylinder, hollow cylinder, disk, and a block.
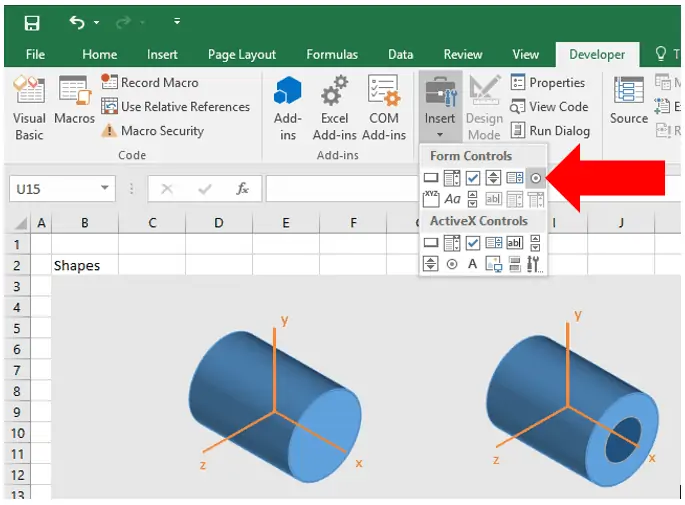
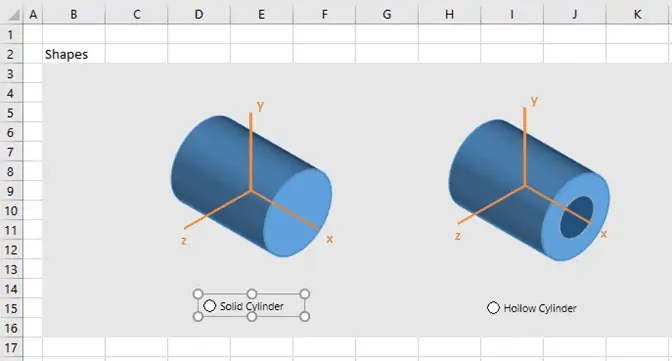
To make it simple for a future user to intuitively choose between the shapes, I added “radio button” form controls underneath each drawing.
To edit the labels beside the radio controls, hold CTRL and click the radio button until the control is outlined with a box. Then edit the title like any normal text box.
The result of the user selection is output to a cell in order to use it later in the calculations. To set the output cell for all buttons, hold CTRL and click each one. Then Right-Click and select “Format Control”. Go to the “Control” tab.
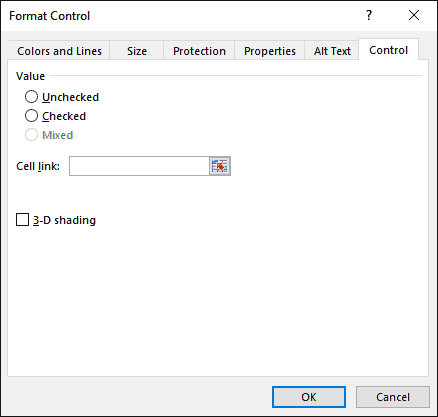
Inside the Control tab, click inside the “Cell link:” box, then select a cell on the worksheet.
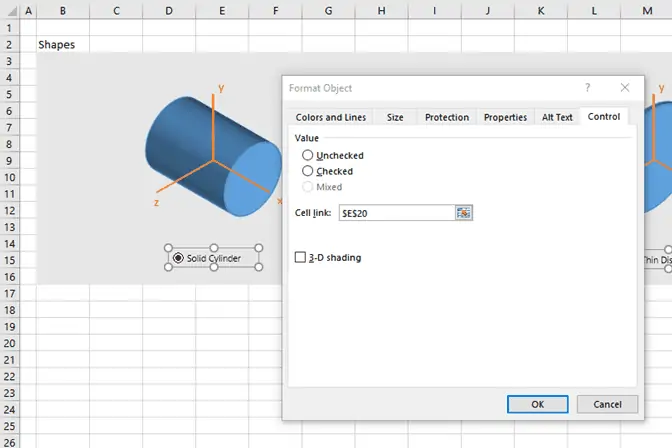
Now, we can see what the radio buttons actually do. When the first button is selected, the output cell value changes to “1”.
It changes to “2” when the second button is selected, and so on.
Do you see how we might be able to use this to our advantage later on?
To be continued…
Stay tuned for next week’s post, where I will create the spreadsheet logic for the mass moment of inertia calculator. The logic will run different calculations based on what the user has selected. Until then, try playing around with the different form controls to see how they can improve your Excel-based engineering applications.
UPDATE: Read Part 2 Here